February 20, 2026·DriveWidget Team
How to Create a Google Drive File Upload Form
Learn how to build a custom file upload form that saves files directly to your Google Drive folder. No coding required.
tutorialgoogle-driveupload-form
Why Use a Google Drive Upload Form?
Google Drive is great for storage, but collecting files from others is painful. Google Forms only supports simple file uploads with limited customization. That's where DriveWidget comes in.
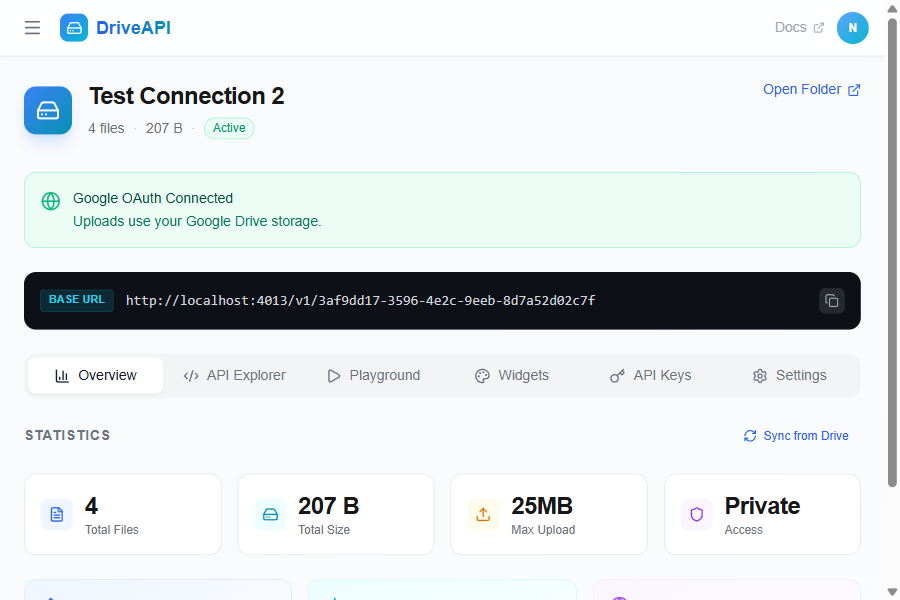
Step 1: Connect Your Google Drive
Sign up at DriveWidget and create a new connection. You can use OAuth to connect your Google account — no service account setup needed.
- Go to your Dashboard
- Click New Connection
- Choose Google OAuth and authorize access
- Pick a destination folder
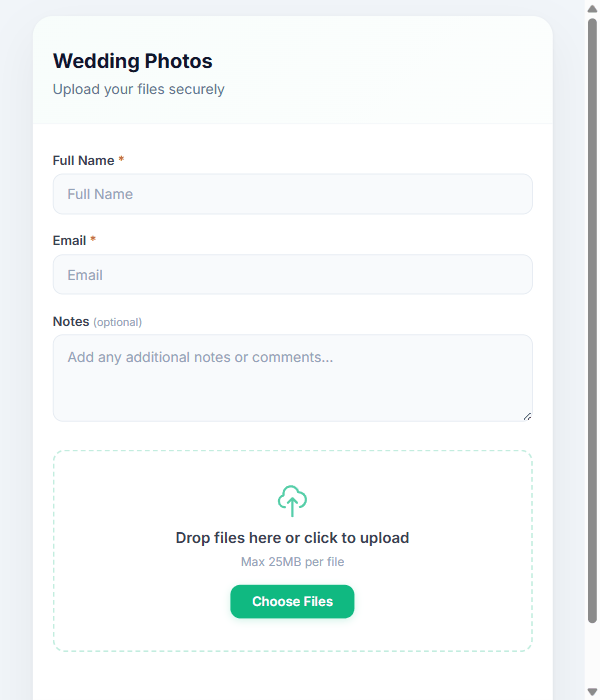
Step 2: Create an Upload Widget
Once connected, navigate to the Widgets tab and create a new widget:
- Give it a name (e.g., "Client File Upload")
- Set allowed file types (PDF, images, documents)
- Set max file size (up to 500MB on Pro)
- Add form fields for collecting metadata (name, email, etc.)
Step 3: Embed or Share
You have three options:
- Embed: Copy the HTML snippet and paste it into your website
- Standalone Link: Share a direct upload URL with anyone
- API: Use the REST API for custom integrations
Bonus: Advanced Features
- File Renaming: Automatically rename uploaded files with patterns like
{date}_{original} - Auto-folders: Create subfolders per date or per form field value
- Email Notifications: Get notified when someone uploads a file
- Webhooks: Trigger automations on each upload
Try It Free
DriveWidget's free tier includes 3 connections and 5,000 requests/month. Sign up now and start collecting files in minutes.
Ready to collect files?
Start using DriveWidget for free. No credit card required.